
The Best Camping and Hiking in Sedona, Arizona (With Tips and Tricks!)
This post will lay out where I camped and what I did in May of 2022 while in Sedona, Arizona. These tips and tricks will help you have a great time when you head out there.
I actually planned this trip three different times and in three different ways. I did a lot of research and provided an itinerary with links and YouTube videos for my cousin, which he said no to for this trip. I think he reacted that way because he was unsure about camping and how much we were doing. So I planned another trip heading to Nevada, then Arizona. When I told him what I was doing, he changed his mind back to yes.
Planning trips is sometimes hard, but I am glad I could plan this trip three different ways because now I can share it with you, and I have two pre-planned trips when I choose to go again!
Water, Water, Water!
Most importantly, when you hike in Arizona, please take water and Gatorade on your hikes, even if it’s only 2 miles. You don’t realize how much water you are losing, and dehydration can occur quickly in the desert.
Know your limits.
Gear!
Bring the right gear; especially the right hiking boots and clothes. On some trails, you can wear your Chacos and Tevas, but please don’t hike in flip-flops or nice sneakers. Those trails are filled with gravel and stickers, and you don’t want them to slide in between your toes. And don’t even get me started about the many things you’ll accidentally kick when on the more adventurous terrain!
Get hiking boots. Your feet will thank you!
Fire Conditions
Also, check the fire conditions in the area. In recent years there have been more fires in the Flagstaff area/everywhere, to be honest. Two of the nights we camped, we were under fire restrictions, but we could still have a campfire in a ring. Four days later, when we returned, they taped off all the grills and rings because of the fires and wind in Flagstaff.
Camping
We camped at Cave Springs and Pine Flat, located in Coconino National Forest along Rte. 89A in Oak Creek Canyon. It’s the perfect location if you are coming from Flagstaff or Phoenix.
Both campgrounds were less than 10 mins from each other, and I had to book two different spots since I needed to get back-to-back nights. Since this was my cousin's first camping trip, I decided to do more established campgrounds instead of backcountry camping.
Cave Springs Campground
This site has 84 campsites and three season dates with nightly/ daily rates of $26. I recommend checking recreation.gov for the dates and to make reservations. All sites have picnic tables, campfire rings, and cooking grills. Token-operated showers, drinking water, and vault restrooms are provided for convenience. All the facilities are centrally located. Every few campsites, there is drinking water and water to put out your fires.
The facility can host RVs, trailers, and motor homes up to 36 feet long. However, there are no utility hookups.
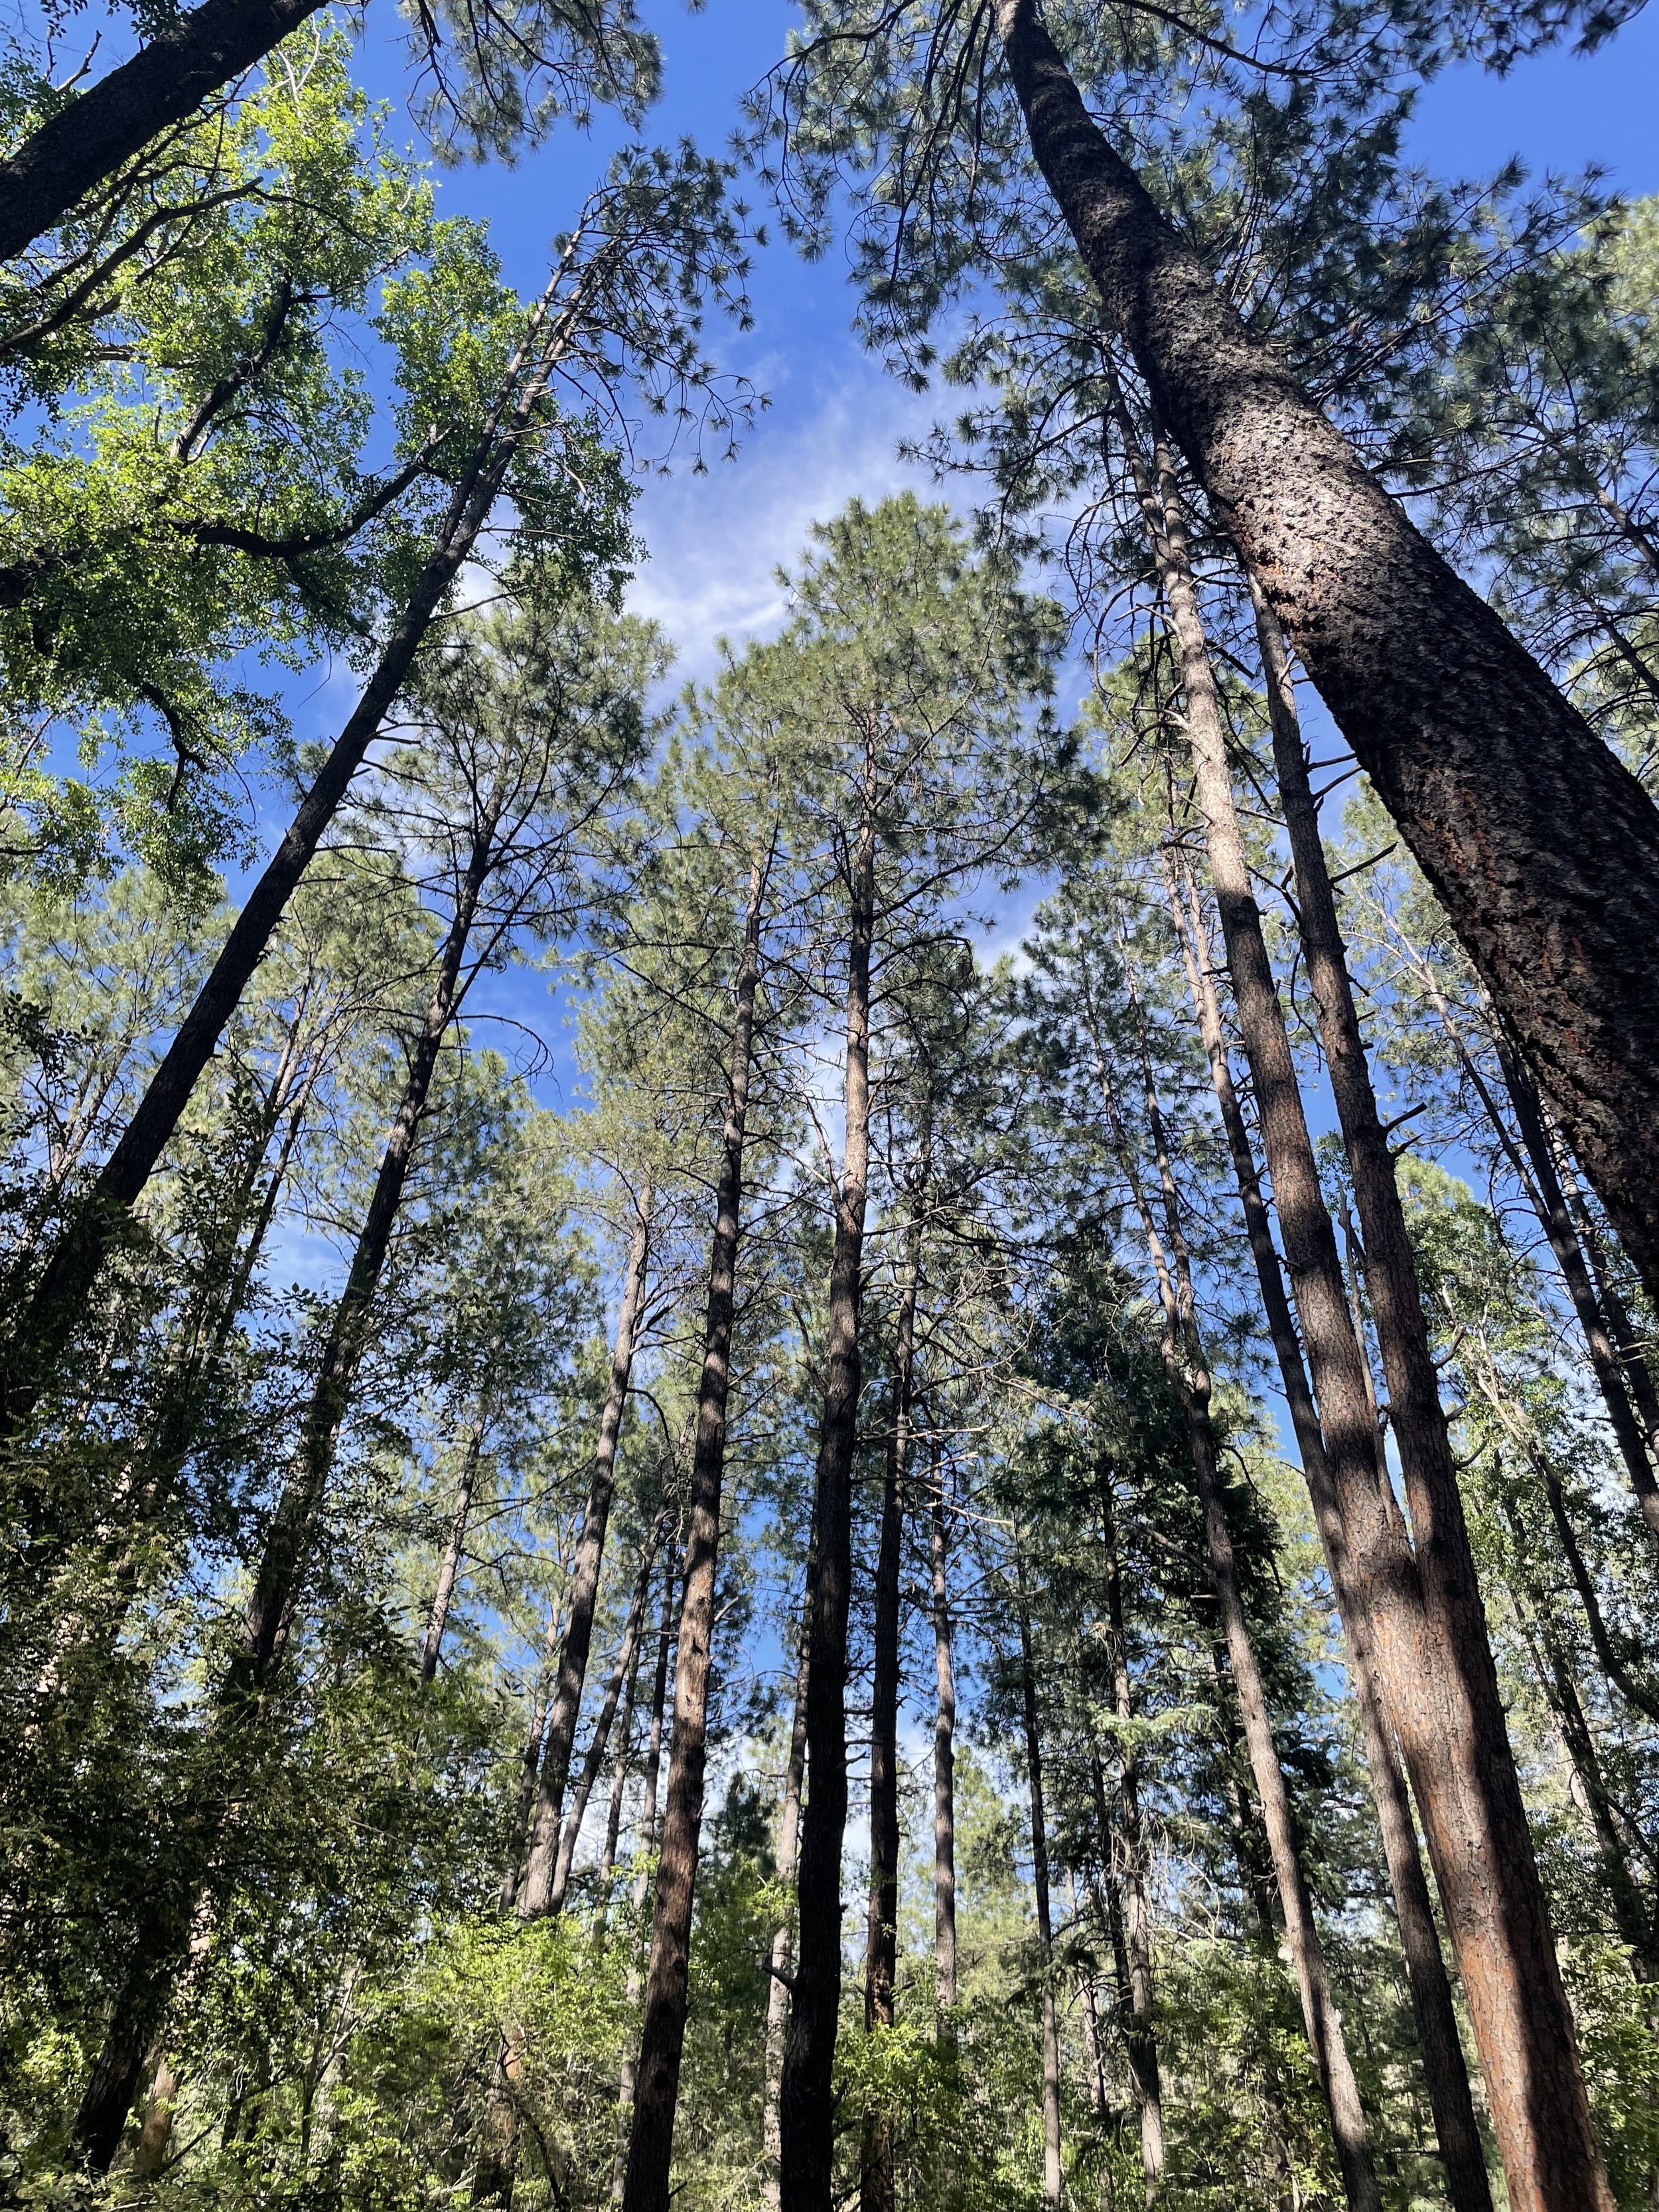
Campsites are located in a shady stand of ponderosa pines. Even better, many of them are located right on the banks of Oak Creek. The creek has crystal clear, cool water—refreshing on hot summer days.
They have a little general store where you can buy camping stuff like s’mores, ice cream, and firewood, and this is the same place where you checked in.


Pine Flat Campground
While this campsite is smaller than Cave Springs and has no general store or showers, supplies or a shower are only a mile away if you need them. There are 59 single-unit sites at Pine Flat Campground, including two accessible sites. It goes for $26 a night, as Cave Springs does. And the picnic tables, campfire rings, cooking grills, vault restrooms, and drinking water are provided.
Near Pine Flat are two springs where you can collect fresh water: Sterling and Harding Springs. We went to Harding Spring, and there was a line of cars waiting to fill up gallons and gallons of water from this free spring. It was worth the wait because the water tasted good; if you are already there, check it out!


Hikes
I put these hikes in the order we did them, and it's also their order of difficulty—hardest first!
Airport Loop Trail
As I mentioned in my feature post, How to Ruin Your Trip: A Lesson in Letting Go of Expectations, my goal for this trip was to heal from life, so I wanted to check out these vortexes as much as possible.
Are you wondering what a vortex is? It’s believed that a vortex is a special spot on the planet where energy is either entering or projecting out of the Earth's plane. Now, I know you think this sounds crazy because there is no such thing. But since Sedona is famous for these, so I decided I might as well try it. When in Rome, right?
This trail is a 3.2-mile loop with an elevation of 416 ft. This trail is considered moderate due to how rocky the terrain is. Some parts of the path have some exposure. We parked at Airport Saddle Trailhead, approximately half a mile up Airport Road, off Hwy 89A. The parking lot is on the left side of Airport Road, and the trail starts across the road from the upper end of the parking lot, and you have to pay hourly for parking. However, there is another parking lot up the road you can pay for the day.
Besides hiking with my cousin, my favorite part of this hike was seeing Yavapai Vista and Overlook Point. It was a clear day, and you could see the red rocks surrounding Sedona for miles.
Birthing Cave
Birthing Cave is probably my favorite hike during this trip, based on how unique an experience it was to see the views from a cave! The cave is a sizeable almond-shaped opening on the edge of a cliff. It overlooks vistas of Sedona's famous red rocks.
This place is also on a list of sites with a vortex. Some believe this cave got its name from its shape, similar to the female anatomy, but others believe that Hopi Women used this cave as a birthing place. This is also a sacred cultural site, so when hiking up to the cave, we must pack up all our trash and bring it back out with us. Be respectful and quiet, too, especially if there are people inside the cave.
We parked at the Long Canyon Trailhead. This hike is 2 miles out and back with an elevation gain of 291 feet. It’s a super easy hike until you get to the cave, then it becomes moderately challenging. I wanted to see the sunset from here. Unfortunately, you can't see a sunset that well, but it was still beautiful.
Also, another tip, make sure you have good shoes for the cave. It is very slippery, especially if you climb the circular depression on the back of the wall for a "better picture." This place is where you can get a photo of the entire cave. I climbed this with the help of another person guiding me up since it had minimal edges to climb up.
Devil's Bridge
Devil's Bridge is the largest natural sandstone arch in the Sedona area. I wanted to do this hike because I kept seeing the bridge on Instagram.
You have two options on this hike. This could be a 2-mile hike if you have a 4x4 (you can do a 4x4 tour if you don't have one) or hike the 4.2 miles with an elevation gain of 500 feet if you park at the parking lot!
This hike is very popular, and you may be unable to park at the Dry Creek Parking Lot. We had to park almost a mile down the road from the lot. I wanted to get there before 7 am to get parking, but we got there closer to 8 am. Go early! You could also take a free shuttle from 8 am to 6:30 pm to the parking lot if you want to avoid driving.
The first few miles are the hardest, not because of the dusty dirt road but because it’s boring. Then after a while, the trail narrows, and at the end, you will hike up several sets of steep rocky steps, and in some places, you need to do some rock scrambling. This section is short, and it ends right before the bridge. There is a wide flat area at the next bridge where you can rest and have lunch.
If you look up this hike, you will always see one person on the bridge, and I wondered how that worked throughout the trip. If you want to get a picture with you only on it, then you wait in a line, and people take turns. No one rushed people, and people were really kind to take pictures of others. So, you will have your moment on the bridge!
Other Things to Do and Check Out
Slide Rock
This was my favorite thing about Sedona. I used to go here as a little girl (I am originally from Arizona). Slide Rock was once known as Pendley Homestead, located on a 43-acre apple farm in Oak Creek Canyon. The cost of parking is $20 per vehicle. This is the perfect place to retreat from the sun after a long hike. This park is known for its famous slide, an 80-foot-long chute. You can go down the slide, jump off the red rocks into the water, or sit along the edge with some food or a book and cool off your feet.
If you need water supplies like floaties, swimsuits, towels, sunscreen, etc., there is a store you can buy them at before you head to the water area.
Downtown Sedona
I would take an afternoon walk around Sedona and check out the shops. You can buy crystals, souvenirs, art, clothes, etc. You can also do a wine tasting with a view of Snoopy Rock or head to get a milkshake and take in the sights of Oak Creek.
Tamaliza
If you really want the best tamales, I highly recommend going. This was the best place we ate at! Also, it's about a mile away from Airport Loop Trail.
Famous Pizza and Beer
After hiking at Birthing Cave, we went here. As the name suggests, it has delicious pizza and decent beer! The perfect way to end the day after a hike!
I hope you find this breakdown useful for your trip, especially since this trip was a quick and easy one! This is a perfect itinerary for someone new to the outdoors. Sedona is a very popular place, so you want to make sure you want to get there early enough so you don’t get stuck in traffic.